Materials:
Decoupage Sheet
Backing Papers
2 A5 White Card Blanks
Ribbon Strip
Glitter
Decoupage Sheet
Backing Papers
2 A5 White Card Blanks
Ribbon Strip
Glitter
Equipment:
Paper Trimmer
Bone Folder
Wet Craft Glue
Foam Pads
Quickie Glue Pen
Paper Trimmer
Bone Folder
Wet Craft Glue
Foam Pads
Quickie Glue Pen
What You Need to Do:
1. Using one of the A5 card blanks, fold back the front of the card. Then rpeat the Using the DL card cover the front of the card using your chosen backing paper and double sided tape or wet glue.
1. Using one of the A5 card blanks, fold back the front of the card. Then rpeat the Using the DL card cover the front of the card using your chosen backing paper and double sided tape or wet glue.
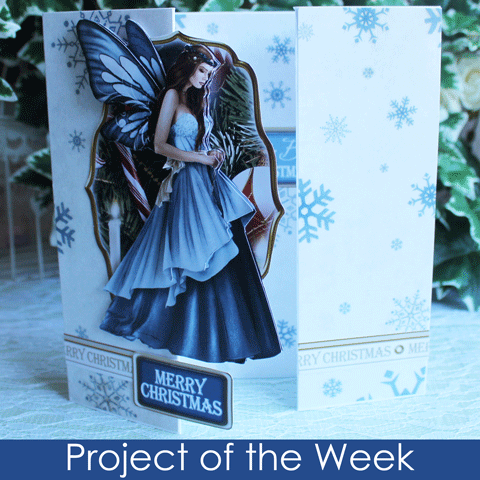
2. From your decoupage sheet cut out all your layers and layer up your image using foam pads or silicone glue. If using silicone glue, make sure you leave your work to dry for at least an hour.
3. Fix your decoupage to the centre of the card using foam pads.
4. Then add a sentiment to the bottom of the card fixing bottom centre of the card.
5. To give your fairy that magic touch, using a quickie glue pen add glitter highlights around the details of the wings.


No comments:
Post a Comment